The Initiative Roll
The Initiative Roll is one of the very first things we do in an Infinity game, and yet it leads to one of the most essential decisions we’ll make – whether we want to play first or second, or deploy first or second. Sound decision-making here can grant you a massive lead. Conversely, poor decision-making here can potentially be game-losing. In this article we’re going to explore what the Initiative Roll is, the decisions that it leads to, and the pros and cons of each option.
The Initiative Roll itself is very simple in principle: “players make a face-to-face roll using their respective Lieutenant’s WIP Attributes”. For the purposes of this roll your Lieutenant’s WIP is open information (which might potentially help your opponent decipher who your Lieutenant is when you deploy – but that’s beyond the scope of this article). However, whilst the roll might be simple in principle, in practice it leads to some very difficult choices.
Before we go too far into complexity, let’s just review the pre-game sequence, so that we’re clear on when the Initiative Roll occurs. This sequence is difficult to find, because as far as I can tell it is not in the core rules. Instead you can find it written in the Infinity Tournament System rules, which are accessible from the downloads section of the Infinity website, here.
The pre-game sequence:
- You decide which mission is being played in advance
- You meet your opponent
- You tell each other which faction you are playing
- You draw Classified Objectives (if necessary)
- You choose your list
- You complete the Initiative Roll
- You deploy
So, to review the basics of the Initiative Roll:
- Players make a face-to-face roll using their respective Lieutenant’s WIP Attributes. The WIP values are open information.
- It occurs after you know which faction your opponent is playing, after you’ve chosen your Classified Objectives, and after you’ve chosen your list. However it occurs before deployment, and the rest of the game.
Initiative Roll Consequences
The winner of the Initiative Roll chooses between keeping initiative, or keeping deployment. Keeping initiative means choosing who plays first. Keeping deployment means choosing who deploys first, and in which Deployment Zone. The decision rejected by the winner of the Initiative Roll goes to the loser. For example, if the winner chooses to keep initiative, then the loser keeps deployment. Subsequently, you’re still going to have to make some kind of choice about deployment or turn order, even if you lose the roll. We will explore these decisions in greater detail after the next section.
Manipulating The Initiative Roll
There is only one way to manipulate your chance of winning the initiative roll: by changing your Lieutenant’s WIP attribute. The following table shows your chance of winning the roll, given various WIP scores (both yours and your opponent’s). The purpose of this graphic is to give you a better understanding of how much impact improving your Lieutenant’s WIP can have.
Here’s a table showing your percent chance of winning the initiative roll with various willpower values.
| Enemy Willpower | |||||
|---|---|---|---|---|---|
| 12 | 13 | 14 | 15 | ||
| Your Willpower | 12 | 50.0 | 45.5 | 41.2 | 37.1 |
| 13 | 54.5 | 50.0 | 45.5 | 41.2 | |
| 14 | 58.8 | 54.5 | 50.0 | 45.5 | |
| 15 | 62.9 | 58.8 | 54.5 | 50.0 | |
Let’s break this table down to make the numbers clearer.
- If I have WIP13 on my Lieutenant and my opponent has WIP13 on theirs, then we both have a 50% chance of winning. We’re both as likely to win the roll as each other.
- If I then take a Lieutenant with WIP14, and my opponent still has WIP13 then I have a 54.5% chance of winning, and they have a 45.5% chance of winning. I’m winning an additional 4.5% of the time compared to the WIP13 vs WIP13 contest. They’re winning 4.5% less often than that contest. The difference in likelihood between our individual chances to win rises to 9%. There’s an appreciable gap, but it is not massive.
- If I have WIP15 and my opponent still has WIP13 then I’m on a 58.8% chance to win, and they’re on a 41.2% chance. I’m winning an additional 4.3% of the time over the WIP14 vs WIP13 contest. My opponent is winning 4.3% less often again. The difference in likelihood between each of our chances to win has now risen to 17.6%. Which is reasonably large.
- As the gap increases, my opponent continues to become less likely to win, and I continue to become more likely to win.
There’s a neat rule you can apply to these results in order to find your approximate chance of winning the Initiative Roll. You multiply the difference between your WIP value and your opponent’s WIP value by 4.5%. For example, a difference of just 1 WIP will result in your chance of winning the Initiative Roll climb by approximately 4.5%, and your opponent’s chance of winning the Initiative Roll decrease by approximately 4.5%. A difference of 2 WIP will result in your chance of winning the Initiative Roll climb by approximately 9%, and your opponent’s chance of winning the Initiative Roll decrease by approximately 9%. And so on. (This isn’t exact but it’s a reasonably good estimate).
I would conclude from these numbers that small shifts in Lieutenant WIP values (e.g. 12 to 13) aren’t notably impactful, but large jumps (e.g. 12 to 15) can make a significant difference. Therefore if you’re really, really desperate to play first then you might want to consider taking a high-WIP Lieutenant. (Do you hear that PanO players? Joan might be a good idea if you want to get aggressive!).

Initiative Roll Choices
If you win the roll then you have 6 options:
- Keep Initiative – Play first
- Keep Initiative – Play second
- Keep Deployment – Deploy first on side A
- Keep Deployment – Deploy second on side A
- Keep Deployment – Deploy first on side B
- Keep Deployment – Deploy second on side B
If you lose the roll then you’ll still have to make some kind of choice. If your opponent keeps initiative then you will choose deployment. If they keep deployment then you will choose initiative.
But what should you pick? Well, that’s a tough question. Let’s go through all of the options!
Picking First or Second Deployment
First Deployment
There is almost no reason to keep deployment and then choose to deploy first. It’s nearly always better to deploy second.
There is one tiny exception to this. If your army is heavy on units with the Minelayer skill then your troops will be able to place deployables such as mines during your deployment. You cannot use the Minelayer skill to place deployables within the Trigger Area of an enemy Camouflage marker (or Zone of Control for Perimeter Weapons). If your army is exceptionally heavy on Minelayer units, and your opponent is playing an army that usually runs a lot of units with Camouflage and Infiltration, then you might want to deploy first to get maximum efficacy from your Minelayer units. But this gain is so marginal, and this situation so rare that I would really recommend against it, personally.
Whilst we can find some justification for deploying first, in reality it’s so rarely going to lead to any kind of advantage that I would be happy saying you should never pick this option.
Second Deployment
If we pick to deploy second then the Deployment Phase looks like this:
- Opponent deploys all of their models, except their reserve(s)
- You deploy all of your models, except your reserve(s)
- Opponent deploys their reserve(s)
- You deploy your reserve(s)
This is a great advantage because you get to see your opponent’s army before you have to decide where your troops go. Your opponent is going to have a reserve model or two, which may still surprise you, but you get to place your reserve(s) after theirs – so you still get to counter their final placement. Furthermore, if you’re a veteran player familiar with points values and army capabilities, then you might be able to predict all of your opponent’s list, including their reserve model. Simply put, deploying second allows you to counter your opponent’s troop placements.
Countering placements is so advantageous because it gives you the best ability to respond to the capabilities of your opponent’s list. For example, if you spot that they have very strong aggressive potential, then you might choose to be conservative with your ARO pieces and hide them. Or if you see that they have a powerful active turn piece on one side of the board, you might put your expensive ARO piece on the other side of the board to avoid them dying too quickly. Alternatively, if you see your opponent has put ARO pieces to cover certain approaches to the middle of the board, you might place your troops to take advantage of different approaches, so that you can avoid those ARO pieces. Deploying second is so powerful because it gives you choices about how you want to approach your opponent’s list. And by making the right choices you can exploit holes in their capabilities.

This positional advantage is particularly important for offensively strong, but defensively weak troops. Sometimes I call these troops ‘finesse pieces’ – the kind of units that can wreak havoc on your opponent, but are very dependent on being in the right place and being used skillfully. Troops with Impersonation are a good example of this; they’re extremely strong if they’re not countered, but they become much weaker if the opponent is able to place mines and templates in their way. By choosing to deploy second you get the best chance of ensuring that your Impersonator ends up in exactly the right place. This is a strong advantage for any unit that really relies on being in the right spot to function optimally.
Another reason to consider making this choice is because deployment zones are often asymmetrical. One deployment zone might be better than another. One side could have a dominant raised position, for a sniper, whilst the other side lacks this feature. One side could have a straight run towards an objective, whilst the other has a lot of terrain blocking their movements. Or perhaps one deployment zone has an approach to an objective that is full of cover, whilst the other deployment zone has an approach that’s extremely open. If you look at the table and see that one side is notably better than the other then choosing to deploy second is great because you also get to pick which table side you want to set up on.
Note that picking a table side is very context dependent. The table edge that has a tower in the deployment zone might not be interesting to you if you’re not playing a sniper. The side that has a tight approach to the objectives with many winding alleys might not appeal to you if you don’t have shotguns or chain rifles in your list. Choosing a side based on the table layout really depends on your list and your opponent’s faction too. In fact, it’s not just about which side you want, but also about which side you don’t want your opponent to have. If you’re playing against a faction that’s known for powerful snipers then you might want to pick the deployment zone with the tower in it, just so that your opponent cannot have it. Or, if you’re playing against a faction that’s known for powerful parachutists, you might want to pick the deployment zone that’s very open along the table edges, so that your opponent cannot walk on the board without taking multiple reactive shots.
There is one last, technical reason to pick deploy second, and that’s because it heavily incentivizes your opponent to play first. This is a great advantage to you on missions where playing second is strong. For example, quadrant control scores at the end of each round, so the player who has second turn gets the final say on quadrants every round. This gives them a large scoring advantage. By picking deploy second, you might end up playing second too, and on some missions that’s fantastic.
Why does choosing to deploy second usually mean that your opponent will play first? Well let’s think about your opponent’s position here. They will have to deploy almost their entire army without seeing any of yours, which is a significant problem on its own. They might make deployment mistakes which you could exploit. How could they fix this situation? Well they could play first! If they play first, it would allow them to adjust their deployment and strike at you before you strike back. If you are forced to deploy first then playing first is strong because it allows you to make corrections.

Imagine if I deployed first and played second. I wouldn’t see any of my opponent’s list as I placed the majority of my troops, and I’d give my opponent a whole turn to capitalise on my deployment mistakes. It’s a terrible, terrible risk for a lot of factions. So if I’m deploying first, I really want to be playing first to correct mistakes. What’s the problem with this? As I said above, some missions really favour second turn. If you choose to deploy second on a mission that incentivises second turn, you put your opponent in a tricky bind. If they choose to play first they can correct their deployment mistakes, but they’ll be disadvantaged for mission scoring. If they choose to play second they will have the advantage for mission scoring, but they’ll have to endure an entire round of your attacks before they get to go.
Overall, deploying second is a very safe choice on many missions because there are often good reasons to play first, and good reasons to play second. This means that no matter what the opponent picks (whether it’s play first or play second) you’re still going to get some kind of advantage, on top of your deployment advantage. Which is fantastic. So if you’re stuck and really don’t know what to do I would recommend deploying second as your default choice.
Picking First or Second Turn
First Turn
Many new players will instinctively feel that opting for first turn is one of the strongest choices you can make in Infinity. Unfortunately this isn’t necessarily true, and there are a few good reasons for this. Firstly, many missions prioritise second turn because they score at the end of each round. This means the second player has perfect information and gets to make the last move, just before mission scoring occurs. Secondly, the ARO system in Infinity can make aggressive plays on first turn very difficult, because you’re trying to push into your opponent when they’re at maximum strength and saturation in their deployment zone, which obviously brings fierce resistance. Finally, by exposing your pieces first, you give the opponent an opportunity to counter-attack efficiently. If you move a few pieces into the midboard to shoot at your opponent and occupy space, then you’ve given your opponent targets they can easily reach in their subsequent turn.
With all that said, choosing to play first can be extremely strong under some circumstances. These circumstances are when you have a list that can efficiently attack immediately, and when the mission isn’t too second-turn-favoured. Let’s spend some time exploring both of these factors in the subsequent paragraphs.
What constitutes attacking efficiently? It’s primarily about positioning and order efficiency. The reason for this is a smart opponent isn’t going to let you gun down their troops on turn one. They’re most likely going to hide them behind cover, so not just any troop with an HMG or sniper is suitable here. Your active turn gunfighter might have one or two ARO pieces to choose from, but this is entirely at your opponent’s discretion. Remember that if you’re playing first, it’s extremely likely your opponent chose to deploy second and therefore they know your list. If this is the case, then they’re not going to give you a shooting gallery – you’re going to need to cross the board to reach them.
First turn attackers need to reach the opponent quickly while avoiding any potential AROs. Not every troop can do this. In an ideal situation you’re looking for some combination of speed, forward deployment, lethal weapons, and strong protective skills. A slow heavy infantry with an HMG might have the lethality, but it’s not crossing the board efficiently. On the other hand, a TAG with 6-4 movement and climbing plus might be more capable – it will easily vault over short obstacles without having to go around them, it’ll be able to climb rooftops to gain height advantage, and it’ll have a strong weapon with which it can put down enemy pieces.

Motorcycles also have a place here – they might sacrifice armaments and armour compared to traditional heavy infantry or TAGs, but they gain even more speed – some move 14″ in a single order! Finally, camouflaged troops with infiltration, or impersonators are fantastic here – these troops might not be quick, but they’re starting much closer to your opponent, and they have marker states which allow them to walk right past ARO pieces and get into the opponent’s deployment zone – these units will usually sacrifice strong weapons and armour, in favour of the ability to move around without being shot at.
The most important message here is that you need to build your list for first turn if you want to succeed. Your opponent starts the game at their maximum strength, and you’re going to start with most of your troops some distance away from them – crossing that gap quickly and safely requires careful thought and premeditated unit choices.
Now we come to the issue of missions. In a prior section we mentioned missions that favour second turn, of which there are a reasonable number. What about those that don’t lean towards second turn so heavily? Missions that score at the end of the game are good examples of this. Whilst missions that score at the end of each round favour the second turn continuously, end-of-game scoring missions do not. Because there’s no compounding advantage to the second player across the entire game. Instead, there is just a single turn during which the second player has an advantage.
Missions that require you to travel to an objective and put it into your deployment zone can favour first turn in some situations. Examples are Supplies (grab boxes from the middle and hold them), Capture & Protect (take a beacon from the enemy deployment zone and hold it), and Rescue (move civilians from the middle and hold them). The reason for this is that by obtaining these objectives early you can hide them and make them very difficult for the second player to access.
Finally, there are also missions like Looting & Sabotaging that require you to destroy a scenery structure in the opponent’s deployment zone. These missions are fine for first turn because they usually don’t care about when you achieve the main objective, and they allow you to strike before the opponent can bolster their defences. In missions that revolve around protecting / killing a particular troop or structure, many players like to deploy mines, and put troops in suppressive fire. If you play first you can use these defensive measures before your opponent strikes, and you can hit your opponent before they’ve been able to do so themselves (bar special skills and abilities that allow troops to deploy with mines or start in suppressive fire).
Hopefully this section has demonstrated that choosing to play first is definitely viable, but it needs to be a contextual decision, rather than a generic one. Playing first doesn’t suit every mission, or every list. Given this, I would think carefully about choosing to play first. I would also recommend building lists that can take advantage of playing first, with mobile, aggressive pieces, because if you lose the Initiative Roll and end up having to deploy first then you’re probably going to want to play first, and that blow can be softened if you have good tools to do so.
Second Turn
Picking second turn is probably the most interesting choice you can make during the Initiative Roll sequence because it brings with it the widest range of advantages and disadvantages. In some missions playing second can be game winning. But against certain opponents or lists, it can be game losing. Choosing to play second is a high-risk, high-reward strategy.
The main reason to choose to play second is because the mission favours second turn. These missions usually revolve around some kind of end-of-round scoring system, which means objective points are accrued after the second, fourth, and sixth turn. Consequently, if you’re playing second you’re always going to have the last move before scoring occurs. This is a large advantage because you know exactly what you need to do to win at every stage. For example, quadrant control gives players objective points for controlling certain areas of the board at the end of each round.
If you have the turn immediately before scoring occurs, you can simply look at which quadrants your opponent is controlling and then formulate a quick and easy plan to either avoid them, or push them out. The player who goes first needs to over-commit to the quadrants to ensure the second player cannot push them out before the scoring occurs. The second player merely needs to see what the first player has done and react to it, which is much easier and can feel downright unfair sometimes. Therefore, in missions like this choosing to play second is an extremely good idea.
Even on missions that score at the end of the game, second turn can still be good. Supplies is an example of this. Whilst it’s true that the player who goes first gets a chance to quickly grab some objectives and hide them, it’s also the case that they need to keep those objectives until the end of the game. If you have the final turn then you could simply use a troop with Combat Jump to land in their deployment zone and kill whichever troop is holding the objective, for an easy win. I’ve actually had exactly this happen to me before and it’s incredibly frustrating. The first player can take an early advantage. But the second player gets a last response, which the first player cannot do anything about (besides choosing the right ARO), and often this can completely swing the game.
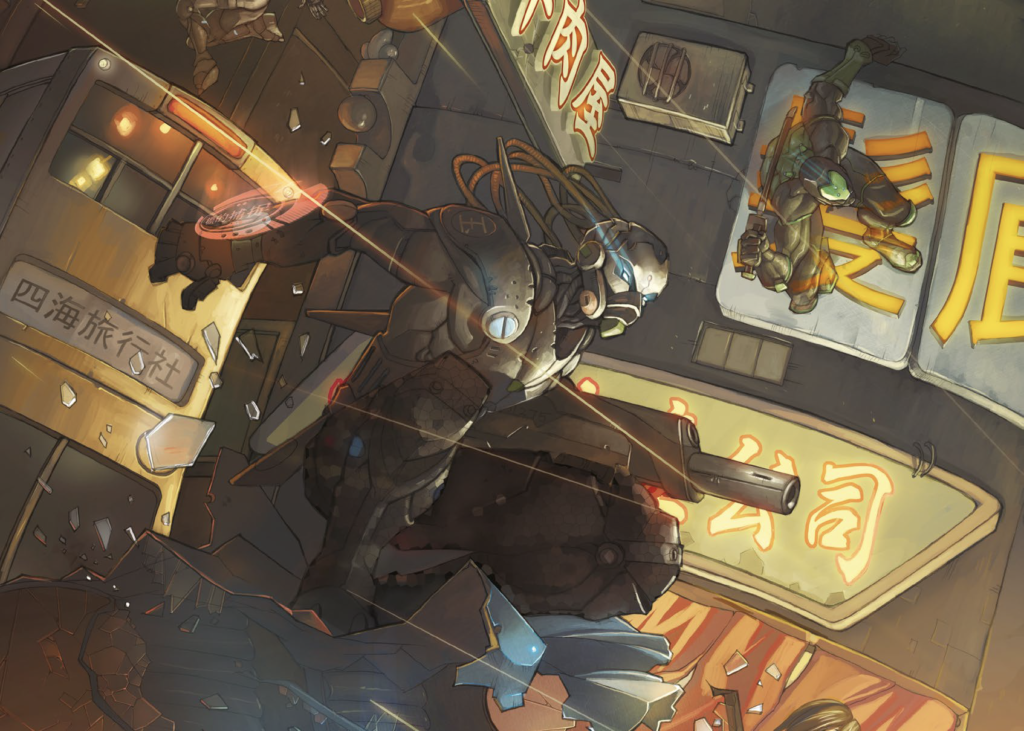
Another reason to play second is if your opponent is likely to play a list that leans heavily on Camouflage. Camouflage lists are annoying to push into aggressively because you need to discover the markers in order to reveal the troop they’re hiding before you can shoot them. Discovering a camouflaged troop can be very inefficient and sometimes quickly turns into many wasted orders. Playing second gets around this problem because you force your opponent to commit their troops in an attack if they want to properly capitalise on first turn. If they push forward non-camouflaged troops, then as the second player you can attempt to move forwards and prey on these targets in your own turn; your opponent has given you something to move against.
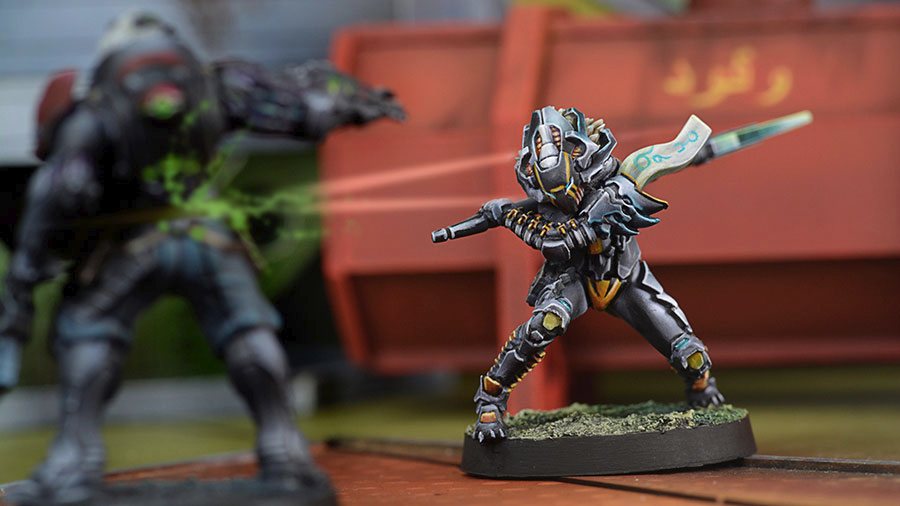
If the opponent pushes forward their camouflaged units then they’ll need to reveal them if they wish to attack you. This breaks their defensive advantage. Furthermore, if the opponent wants their now-revealed Camouflaged troop to re-enter the Camouflage state, they’ll need to spend an order to do so. This flips the script upside down: playing aggressively into camouflaged troops requires you to spend orders discovering them first, but playing defensively into camouflaged troops forces them to reveal and then the opponent needs to spend orders re-camouflaging them. In this case, playing second is excellent.
If playing second is so often advantageous, why doesn’t everyone pick it? Simply because it’s exceptionally risky. Whilst it’s true that playing second might give you a scoring advantage, and might force your opponent to show their hand and over-extend, it’s also true that you could just…die. A skilled opponent is going to use first turn to gain some kind of objective-based or kill-based advantage, and if you’re not careful you’re going to lose some significant portion of your force before you even get to spend an order.
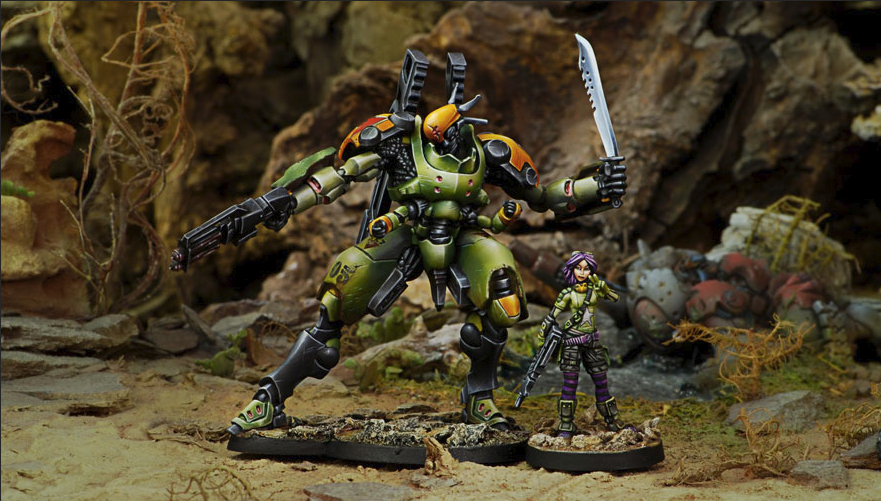
Playing second is not for the faint-hearted, and not for those that lack caution. Deploy a little too liberally with troops poking out of cover? Your opponent could absolutely blow you away in the first turn. It will not be pretty. Deploy sensibly? Well you might just make it through the opponent’s first turn, but it’s a gamble. And remember, if you’re choosing to play second, it’s extremely likely that your opponent is going to deploy second, so you’re going to have to place all of your troops without knowing what’s in their list. This is why I said that second turn can be so polarised: it has both extreme advantages and extreme disadvantages.
We know that playing second can bring great advantages, but also great risks. Most of those risks revolve around surviving the first turn. Naturally, the next question is, how can we mitigate those first-turn risks? Thankfully, there are a number of options available:
- Firstly, camouflage. As I explained above, camouflaged units are difficult to push into and kill because they need to be discovered first. Therefore you can blunt the efficacy of a first turn attack by running lots of camouflaged units.
- Secondly, conservative deployment. Deploying your units in such a way that they cannot be seen. If your pieces are well hidden, it’s going to be difficult for your opponent to shoot and kill them. However, there’s a balance here – if you completely hide all of your troops, then you hand your opponent a free board and the ability to do whatever they wish. It’s important to have one or two AROs, and to cover your deployment well. But don’t expose more than you have to.
- Thirdly, set up AROs. AROs could really be anything to slow your opponent down: camouflaged units with shotguns, mines, snipers with hidden deployment, any unit that’s going to force your opponent to waste orders before they can move on. If an ARO piece dies but it costs your opponent a chunk of their first turn orders then you’ve probably done a good job!
- Finally, mission analysis. If you’re playing a mission that scores every single round then your opponent is going to have to do something on their first turn or they won’t score in that round. If that objective requires significant order expenditure then you know that they’re not going to have too many orders left to attack you. In a mission such as quadrant control, your opponent might spend a good chunk of orders moving pieces into quadrants to ensure they score. These orders can’t then be allocated to aggression. So some missions have requirements which make second turn safer, because they ask for significant order expenditure to achieve goals. This makes aggression less viable.
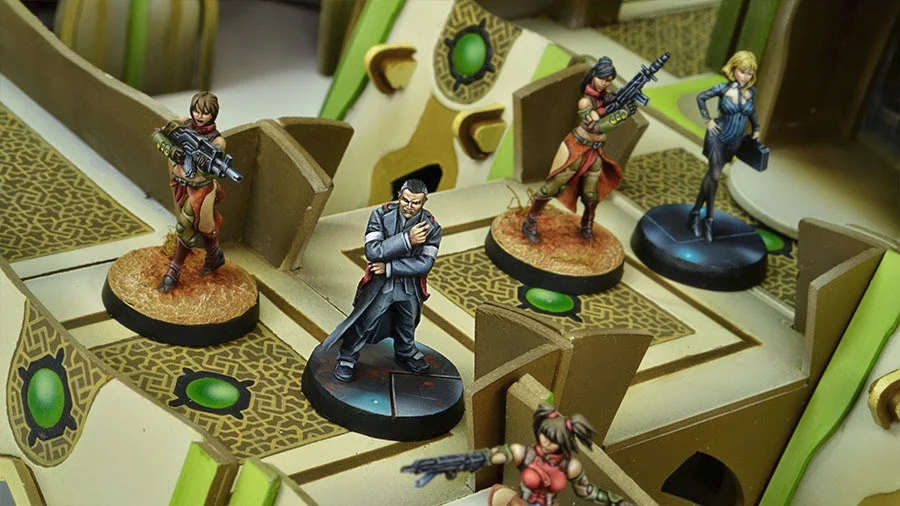
Hopefully this section has demonstrated that playing second is a mixture of power and risk. It can lead to great scoring advantages, but can also lead to significant losses if your deployment isn’t adequate. Playing second isn’t a choice I’d make often, but with certain lists and on certain missions I’d definitely consider it. A lot of the time I’d probably pick to deploy second, and give the initiative choice to my opponent, knowing they will most likely choose to play first. If I do this, I know that I’m probably going to get to play second anyway, which is fine because it’s what I wanted, but if my opponent does choose to play second in this scenario then I can deploy reactively to leverage strong first turn aggression and punish their decision.
Initiative Roll Examples (More Advanced Examples)
Example 1
- The mission is Supplies and you win the Initiative Roll.
- Checking the mission you can see that it revolves around obtaining objectives from the middle of the board and holding them until the end of the game. Therefore there are good reasons to play first or to play second: first lets you grab objectives early, whereas second gives you the chance to take objectives away from your opponent on the very last turn.
- Your opponent is PanO so you know that extreme long-range aggression is likely.
- You pick to deploy second, knowing that if you see your opponent’s deployment you might be able to avoid some of their stronger pieces. You also don’t care too much about playing first or second for the mission.
- Your opponent picks to play first.
- Knowing this, your priority is to keep your pieces well hidden to avoid taking unacceptable losses during the first turn. You deploy in such a way to cover one or two of the supply boxes, but not so that your pieces can be gunned down at long range. If the opponent uses your conservative deployment to take the objectives early then you’ll need a strong final turn plan to take them back.
Example 2
- The mission is Panic Room and you lose the Initiative Roll.
- Your opponent picks to play second.
- Checking the mission you can see that it revolves around killing troops and having units occupy a room in the middle of the board each round. With your opponent playing second, it is likely that they are going to attempt to have the last action when it comes to dominating the room at the end of each round.
- Your opponent is Ariadna so you know that lots of strong warbands and camouflage is likely.
- You choose to deploy second because it’s more logical than deploying first. You can use the information you gain from deploying second to set up a strong first turn.
- You know your opponent has the advantage when it comes to the end of round scoring, which will likely put them ahead. Your goal is to properly leverage your first turn to deal damage to your opponent and make the panic room difficult to access. You also know that the mission scores for kills, so you can ignore dominating the room for one or two rounds (given the opponent has a massive advantage with that objective anyway) and focus on this other aspect of the mission.
Example 3
- The mission is Unmasking and you win the Initiative Roll.
- Checking the mission you can see that neither first nor second turn is particularly advantaged: you have to identify your opponent’s HVTs and then kill them, which can be done at any stage of the game.
- Your opponent is Haqqislam so they likely have a few tricky camouflaged or impersonated troops, which could be used to kill your HVTs immediately. You also know they will likely have lots of defensively weak troops in their deployment zone.
- You pick first turn knowing that you have an aggressive list which can leverage the first turn advantage. You also realise that killing the enemy impersonated troops will likely make their game plan suffer.
- Your opponent chooses to deploy second.
- You know that with first turn, you do not need to be too conservative with your deployment. You spread out and make sure that you have aggressive pieces in multiple positions, ready to move forwards. You ensure your HVTs are well defended. In response your opponent places an Impersonator near one of your HVTs, but hidden, and they hide most of their other units. You now know that your first turn is going to consist of inflicting as much damage on your opponent as possible, and stopping that Impersonator from killing your HVT (which you could achieve by killing the impersonator, by covering the area with deployables, or by blocking its movement).
Example 4
- The mission is Frontline and you lose the Initiative Roll.
- The opponent picks to deploy second. They are playing Yu Jing.
- Checking the mission you can see it revolves around occupying space at the very end of the game, and achieving classified objectives. You realise both first turn and second turn are viable in this mission, so either way your opponent will be happy.
- You choose to play first, knowing that you can use the first turn to remove some of their order providers.
- At the end of deployment you can see the opponent has taken some cheap troops which function almost solely to provide orders. Knowing you have first turn, you decide you’re going to devote some time to killing those pieces so the opponent’s subsequent turn is less effective. You realise the mission only scores at the end of the game, so you have ample opportunity to use the early turns for aggressive movements.
Conclusion
The Initiative Roll is simple in theory, but complicated in practice; whilst the roll itself merely consists of your Lieutenant’s WIP vs the opposing Lieutenant’s WIP, the decisions you make at this stage of the game will have ongoing consequences. Choosing poorly can be a recipe for disaster. For example, playing first on a mission that favours second turn is an uphill struggle. Similarly, playing second against a faction that brings Impersonators can result in your force quickly being ravaged.

On the other hand, choosing correctly will give you a fantastic footing to secure victory in the game.


Great, comprehensive article!
Pingback: Infinity The Academy – Intermediate: The Initiative Roll – Under Bourak's Sun